In this tutorial, you'll be learning how to design the Apple iPad in Adobe Photoshop.
We will use different tools, such as shape tools, gradient tools, different blending mode tools and loads of great techniques.
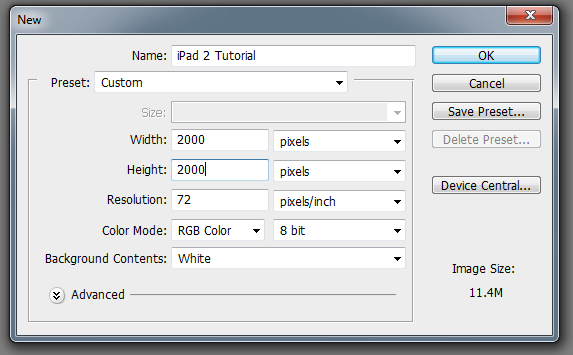
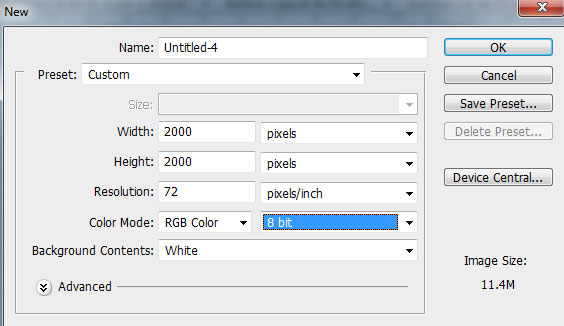
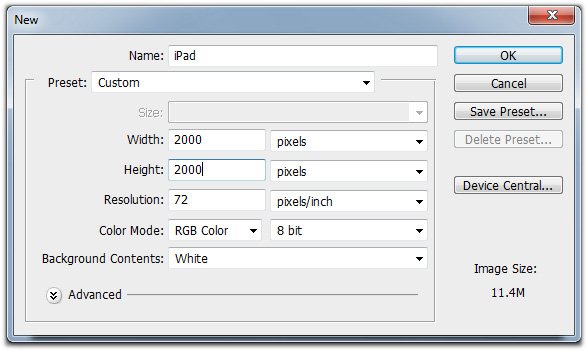
Step 1 Firstly, we need to create a new document. Open up Photoshop and create a new document by going to File > New. I’m using a Web preset, set to 2000 x 2000 pixels.
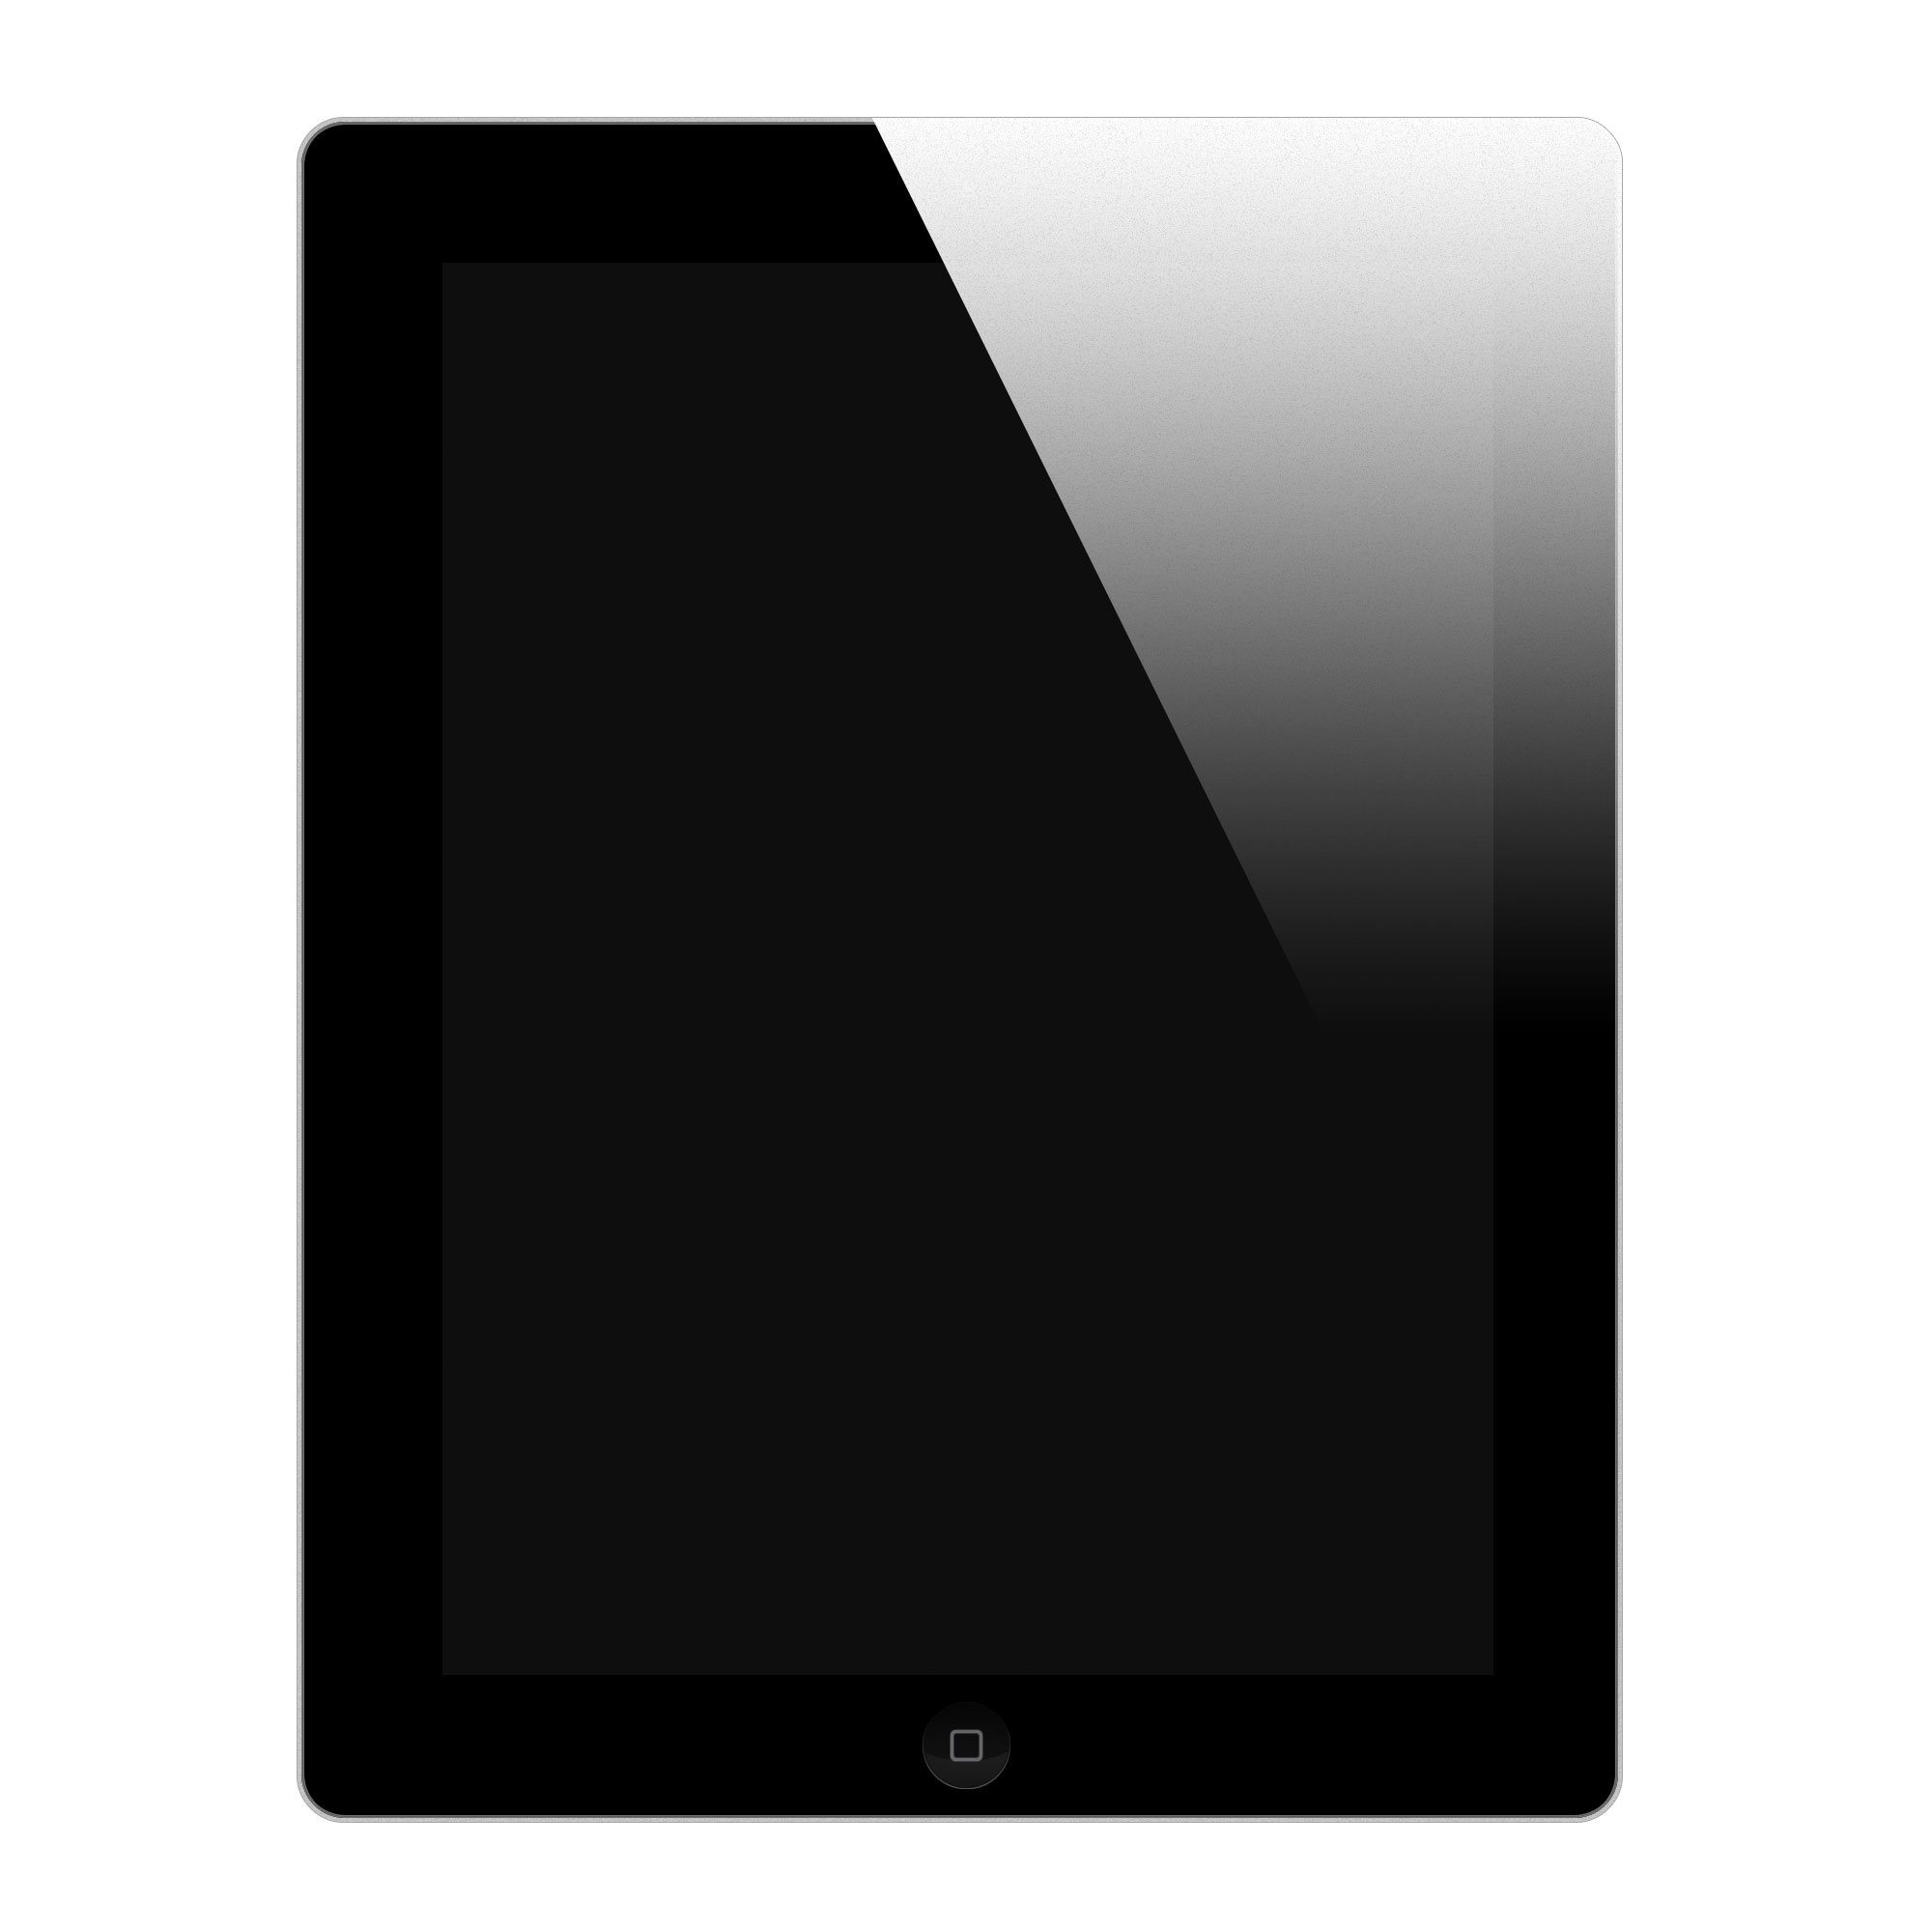
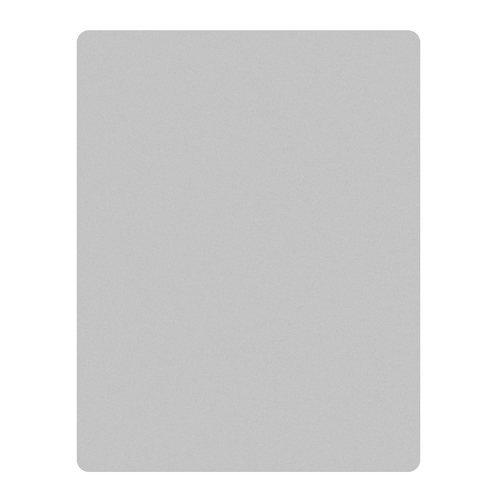
Drag a new rectangle out about the same size as the iPad, here I recommend grabbing an image of the iPad from the Apple iPad site, pasting it into the document and drawing the rectangle over it.
In fact, you will probably find this tutorial a whole lot easier if you have a reference photo of the iPad whilst following each step. Make sure you use either white or a light grey for your rectangle. Hit Cmd+E on your Shape Layer so it merges down into your iPad Bevel layer.
Repeat this same step again, this time making the the rectangle a little smaller, be sure to use a dark grey colour (#bebebe) so you can see what you’re doing. Place the new rectangle in the middle of the first rectangle you made, making sure each side has an equal gap. Once again, hit Cmd+E to merge the new shape layer down to our iPad Screen Border layer.


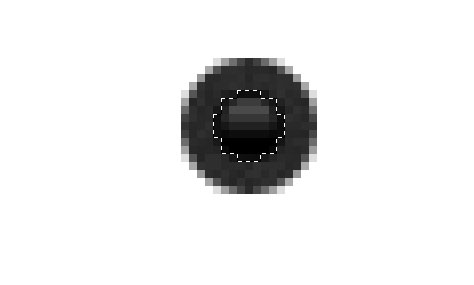
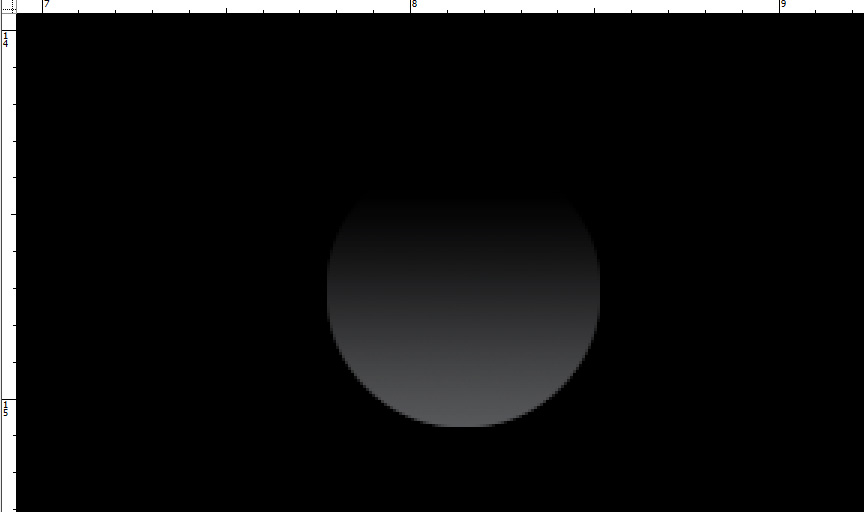
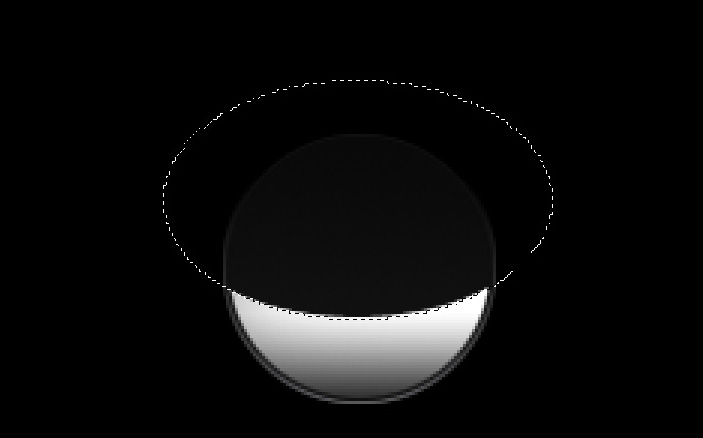
Step 4 We can now to make the 'home bottom'.
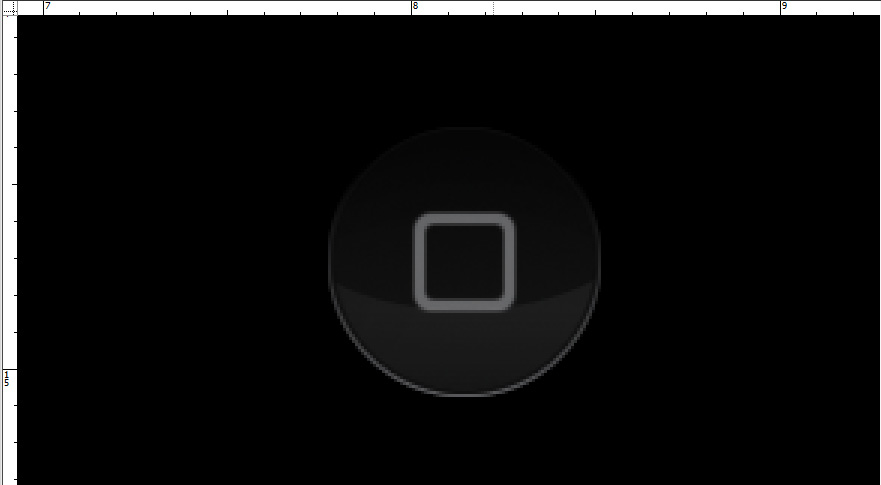
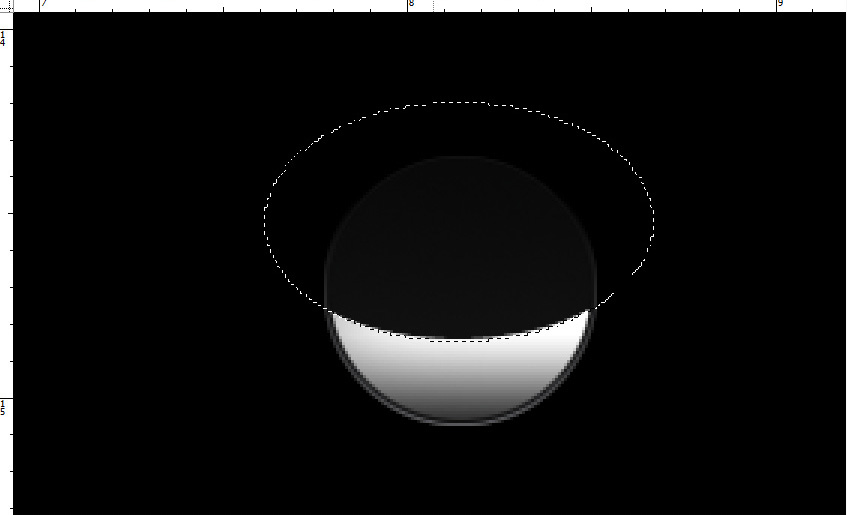
Draw a circle at the bottom of display using Elliptical Marquee Tool to fill and add a gradient layer #7c7b7b to #ffffff inside the bottom. And then, you can repeat the step and shift the Elliptical Marquee Tool upward to add another black circle.

Then, you can change your fill to 5%.

Now, we can jump to work on the camera at the top. You can use the same idea as making the button, using Elliptical Marquee Tool to draw a circle in color of #2e2e2e and a smaller circle inside in color of #0d0d0d.