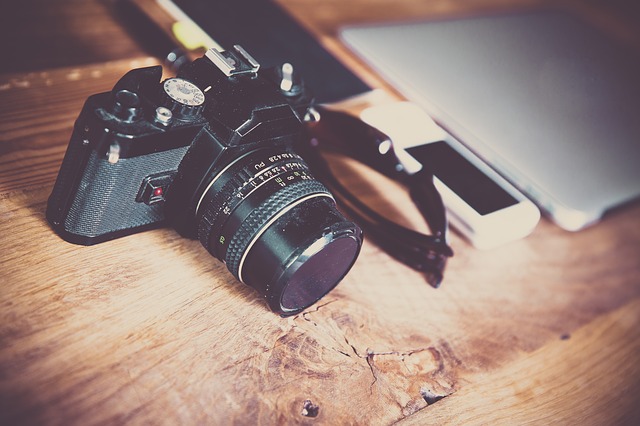
Tips on How to Make Your Photos Look Professional
Photography is considered as an art. If you want to become a professional photographer or photo-editor you must use your creativity. It is better if you follow your style of photos and avoid strict guidelines. We all know the capabilities of Photoshop. You can create everything just by using your imagination and creativity.
However, there are some points that you can use in order to come up with a professional looking photo. In the following article, we will dig deeper into the art of Photoshop and photography.
- Lightning
Everything is about the lightning of the photo. Lightning separates professional looking photos from amateur looking ones. Even if your photography lacks light it can be added on Photoshop through the face of highlighting spots.
Shadows and Mid-tones are also a crucial part of the editing of the image. With these two effects, you will add depth to the picture and make it much more realistic. With the added shadows you only need to emphasize the highlights and the results will be amazing.
There are many ways for you to make portrait or landscape photo much more interesting through lighting. You can use effects, make it black and white, show only one color, add sun glare just to make the photo deeper and richer.
- Focus
This segment also separates professional and unprofessional photos. Even if you did not manage to capture the right focus through the camera it all can be corrected through Photoshop. Your photos will look much better with a well-thought focus area.
Be careful with your focusing through Photoshop, you must apply basic physics in order to know which objects should be blurred and which not. Even professionals make mistakes by leaving out un-blurred areas or blur something that is not needed to be blurred.
- Sharpness
From the first sight, you must know if the photo possesses some qualities that can be enrichened through photoshop. There are some photos that are broken and there is no hope for them such as, out of focus, low sharpness, and quality and etc.
If you want to make a professional photograph, you must have the sharpness of photography. This is why it takes a very keen eye and tons of edition sometimes, to make that perfect photo of a touchdown of the NFL Superbowl, for example.
The focused part of the image should be in high detail preferably done by the high-end camera. Any minor disbalance between the blur and the sharpness might break the photo and it will look amateurish.
- Exposure
Exposure means the brightness or darkness of a photo. This might be harder to learn, however it is a tool that must be used in professional photo editing. Nowadays, digital cameras are very good with neutral exposure, however, with Photoshop, you will bring the true potential of the photo.
You must choose the right monitor before even starting with Photoshop. Just because if you use a low-quality picture monitor, the colors you see may be different from the last result.
It will take a bit of time until you know what is the perfect exposure setting which will be enough to produce perfect photo and not destroy it by burning out pixels. It is a dangerous tool that can quickly destroy the photo.
- Hue and Saturation
Once you are done with the steps mentioned above, it is time to make some color correction. Every photo needs some color correction in order to make it more vibrant and interesting. Digital cameras capture more natural colors that need to be enhanced. Right colors will definitely make or break the picture so it is important to use it carefully.
Zoom after you edit in order to see if some of the pixels have gone oversaturated or gray. It is a common problem with Photoshop editors forgetting to deeply inspect the hue and saturation of their final product.
These are some of the basic steps in order to create a professional looking photo. If you master these five settings you will be able to edit regular photos and turn them into something unbelievable. You just have to try and learn through the process of creation.

