In this tutorial, it will demonstrate you how to create a realistic 3D snooker ball. It is not difficult to make. Hope you will find it interesting. To create a 3D design, the shadow and reflection are always the most important elements to think of. Once you get familiar, your design will become awesome.
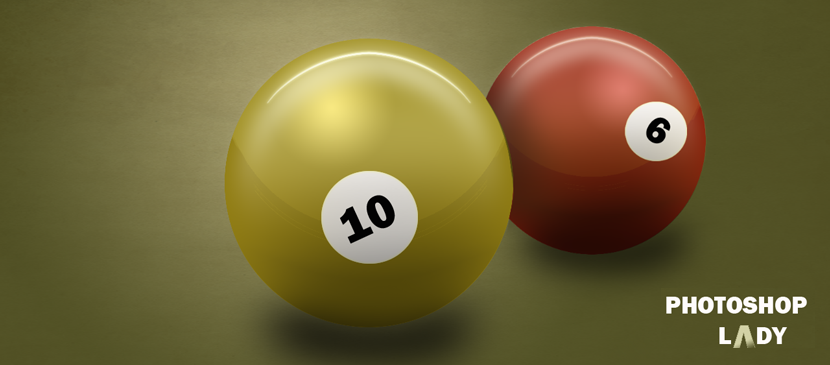
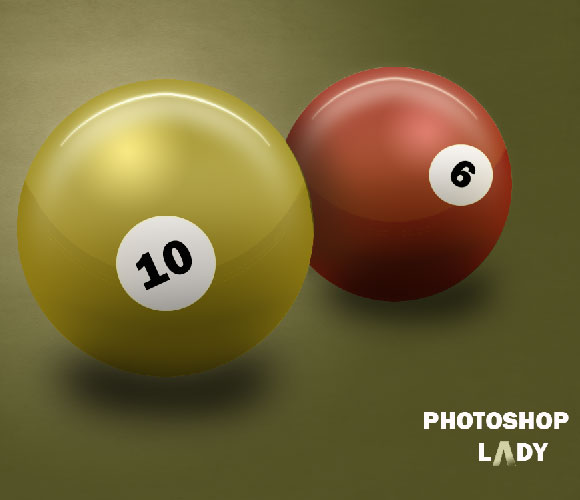
My final result for the 3D snooker balls will be as this:

1.
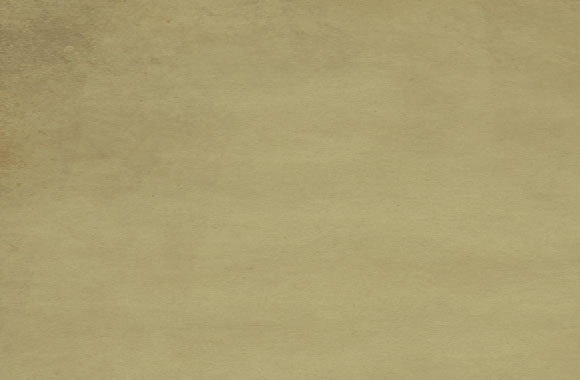
The first thing to do is the background. Choose the combination colour brown & yellow - #bdc68d .

2. Combine it with my chosen texture and set the opacity = 50% as below. (You can download the texture from http://www.flickr.com/photos/bittbox/2118265369/sizes/l/
3.
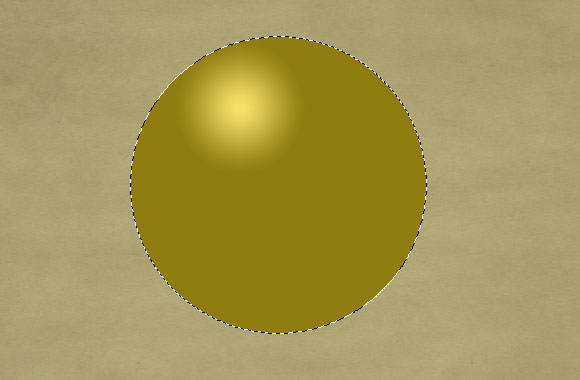
After complete the background, we can actually create the snooker ball. And I have chosen the ball in brown colour - #b79e3a. Using Elliptical Marquee Tool to make a simple circle, then fill the colour by gradient tool >radial gradient as below.
4.
The brown circle is created, we can move on the next step, making some shadow for the ball. Go to Select > Modify > Contract by 20 Pixel.
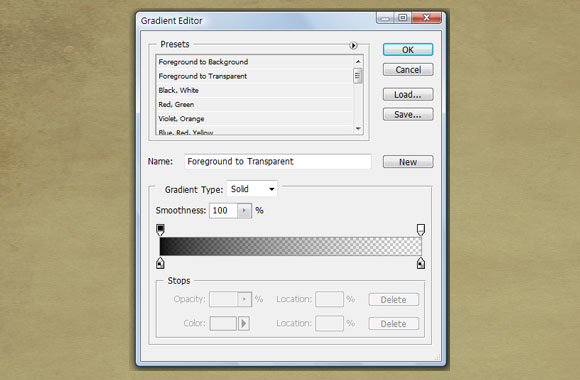
5. After the contraction, create a new layer. Then using the gradient tool to fill in the black colour and adjust the gradient editor setting as below:
6. Using the blur tool > Gaussan Blur to the previous painted (black) colour. Set your Blur Radius = 5 pixel.
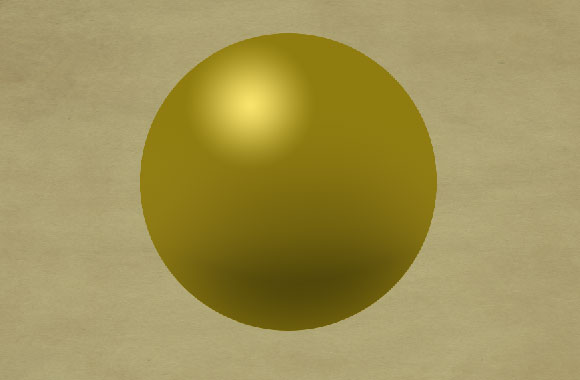
7. You should achieve the ball similar as below. Then let’s go to make the reflection effect for the ball.
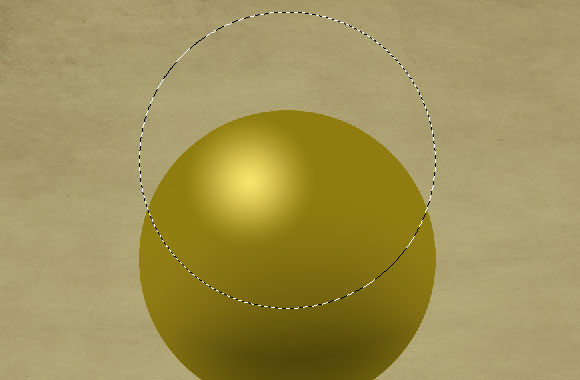
8.
Move the elliptical circle into the upper part. And then fill the colour in gradient > radial gradient and set the colour as below.
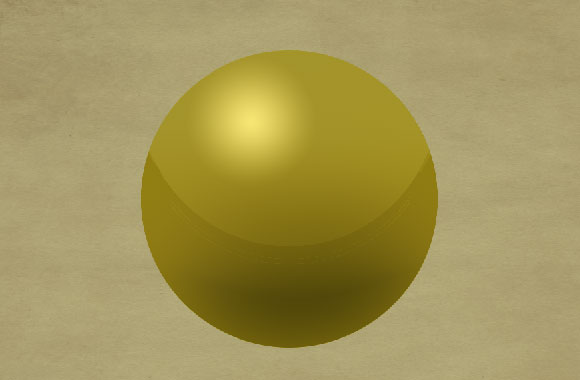
9. Press ctrl, then move the pointer to the ball’s layer thumbnail.
Then elliptical circle will move back to the ball. Then press ctrl + Shift + I to select the rest bit of the circle. And you can delete the colour out of the circle. You should achieve the ball as following.
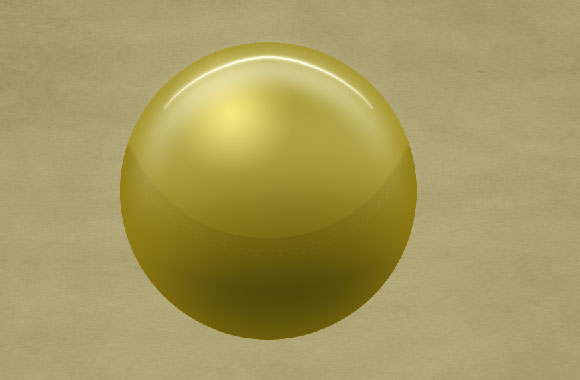
10.
Using the above-mentioned skill, make the elliptical circle and apply the contraction to the circle set the radius as 6 pixel. Fill the circle in white colour and set Opacity into 80%. Then repeat the same step to make one more circle with 8 pixel. Then delete the colour inside the small circle. Use the eraser to make the upper bit reflection, it should be like the curve at final
Here you have to try the adjustment of Opacity & blur until the result reaches your satisfaction because the strength of reflection really rely on these adjustments.
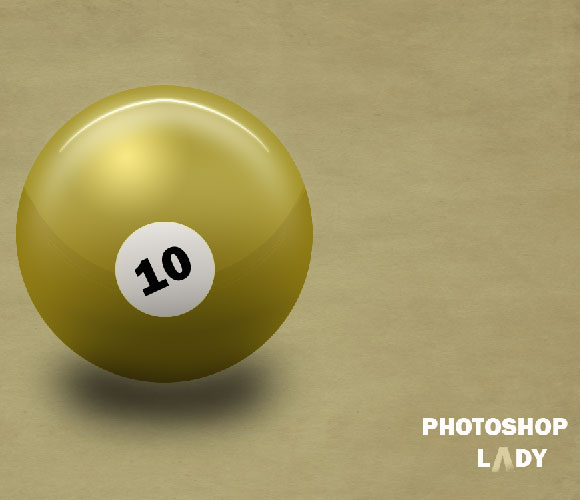
Here you go, it is my result.
11. For the shadow at the bottom, you just need to simply create an ellipse circle by elliptical circle tool, fill it in black by “paint bucket tool”. Apply the blur > Gaussian Blur into 6 – 8 pixel.
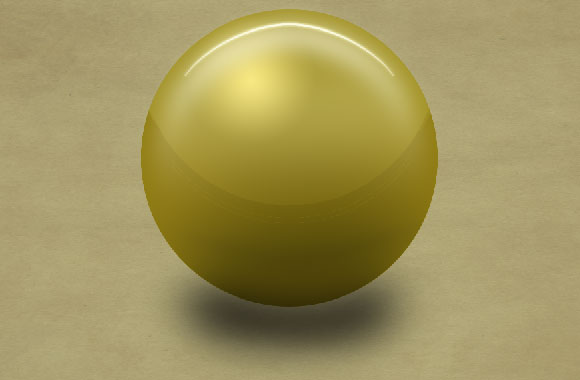
12. The last step is to simply add a white circle in the centre and add the number.
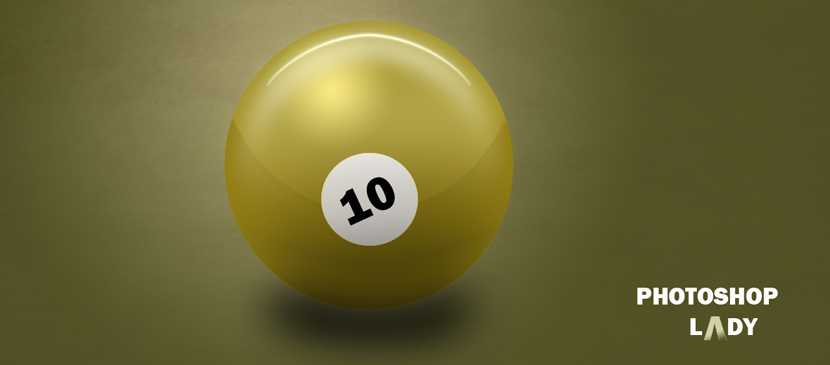
13. Duplicate the layers, to create one more ball in red, and you should be able to achieve the scene as below.

Hope you can enjoy and this tutorial can give you an idea to develop your personal 3D object.
Thank you very much!
